Screen Printing &
Direct to Surface
Printing on metal

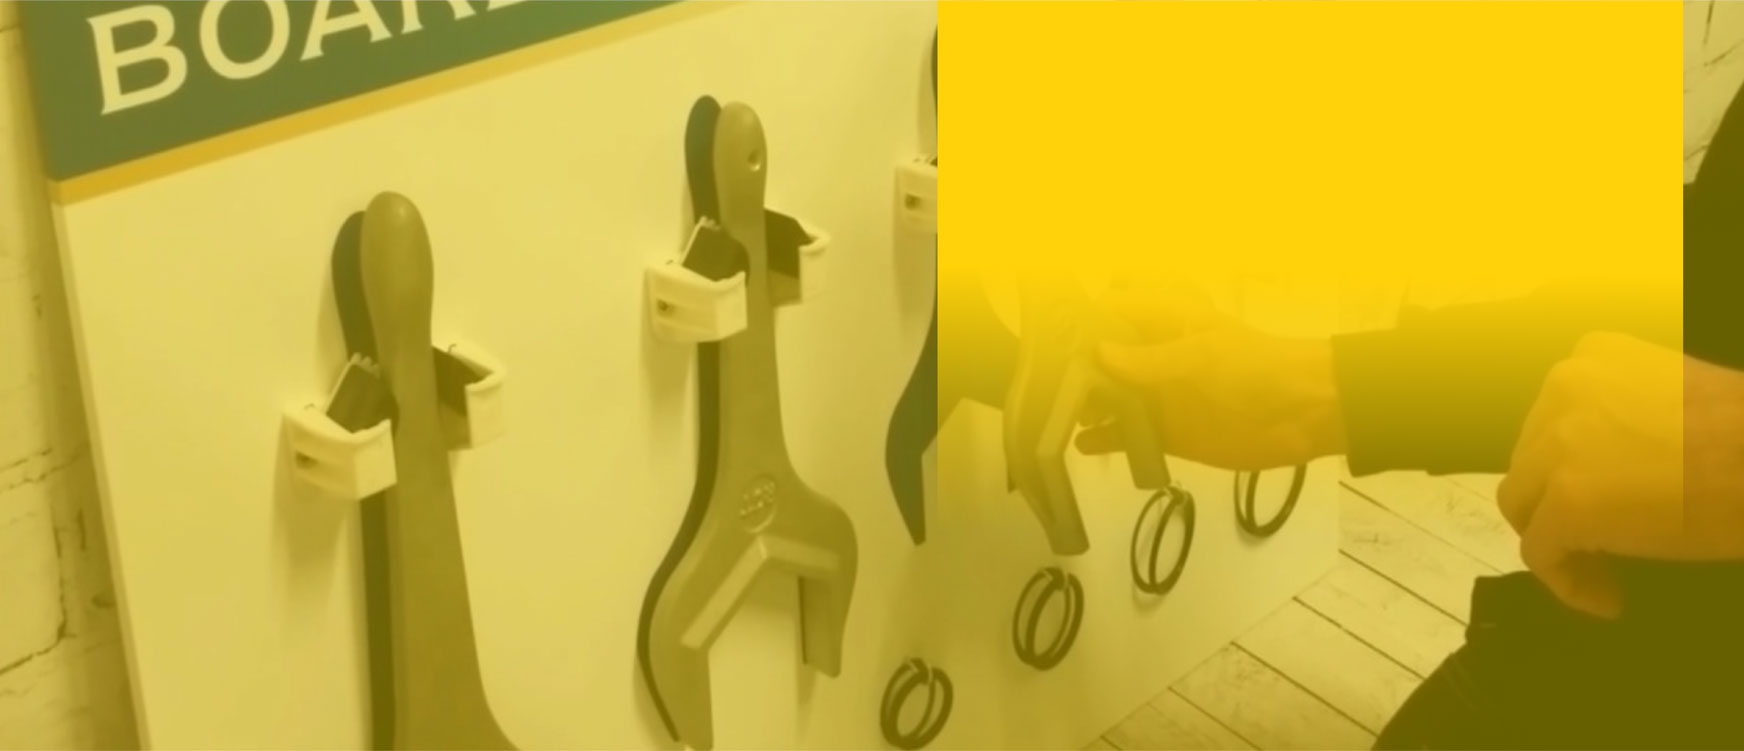
Shadow Boards & Information Boards

Direct to surface Screen Printing Services

Screen printing is valued for its ability to produce high-quality prints with vibrant colors, especially on a variety of surfaces, including metal. It is a popular choice for industrial applications due to its versatility and the durability of the printed output.

Screen printing, also known as silk screening, is a versatile and widely used printing method that involves transferring ink through a mesh screen onto a substrate.

Substrates include tyvek, plastics, polycarbonate, metal, painted or powdercoated surfaces including hard to adhere such as stainless steel markings

Here’s a step-by-step explanation of the screen printing process:

  1. Design Creation:

    • The process begins with the creation of a design, typically in a digital format. This design serves as the template for the image or text that will be printed on the metal surface.
  2. Screen Preparation:

    • A mesh screen is selected based on the complexity and resolution of the design. The screen is coated with a light-sensitive emulsion, creating a stencil of the design when exposed to light. This emulsion-coated screen is then dried in a darkroom.
  3. Exposure of the Screen:

    • The prepared screen is placed over the design template, and the entire assembly is exposed to light. The light hardens the emulsion on the screen, except in areas where the design blocks the light. After exposure, the screen is washed, revealing the stencil pattern.
  4. Setup on Printing Press:

    • The metal substrate is secured on a printing press, and the screen is positioned over it. The screen is carefully aligned to ensure precise registration of the design on the metal surface.
  5. Ink Application:

    • Ink is applied to the top of the screen, and a squeegee is used to spread the ink evenly across the mesh. The design areas in the stencil allow the ink to pass through onto the metal, creating the desired pattern.
  6. Printing Process:

    • The screen is lowered onto the metal surface, and the squeegee is pulled across the screen, forcing the ink through the open mesh and onto the substrate. The pressure applied by the squeegee ensures that the ink adheres to the metal in the pattern defined by the stencil.
  7. Drying:

    • After printing, the metal substrate is typically moved to a drying area. The ink needs to dry or cure, depending on the type of ink used. Some inks require heat curing, while others air dry.
  8. Repeat for Multiple Colors:

    • For multicolor designs, each color is applied using a separate screen. The process is repeated for each color, with careful alignment to ensure that the colors match up accurately.
  9. Curing or Fixing the Ink:

    • Once all colors have been applied, the printed metal is subjected to a curing process. This may involve heat curing (using ovens or specialized drying equipment) or allowing the ink to air dry and set, depending on the type of ink used.
  10. Quality Control:

    • The final printed metal is inspected for quality , sharpness of print and adherence to the design.
Printing directly to stainless steel

Lean Farming

Farm Map Boards

Farm Map Boards printed on aluminium for wall mounting can be dry wipe for marking paddocks. They also comes with a notes area and a daily chart for organisation.

Each board is custom designed as requested.

Paddock Numbering Signage

A useful tool for layout and planning of farm paddocks, or for use when contractors are carrying out services on the farm.

Engraved in 3mm outdoor grade material.

Find out a little
more about us